Home About Assignments Final Project
DIY Vacuum Forming Machine

We don't have a vacuum forming machine in Fab Lab Egypt, and i believe it's a very important one to have it in your own fablab.
Why do you think of buying one instead of making your own machine even it's customizable ony for you "The Market Of One".

1. First, a former is made from a material such as a soft wood. The edges or sides are shaped at an angle so that when the plastic is formed over it, the former can be removed easily.

2. The former is placed in a vacuum former.

3. A sheet of plastic (for example, compressed polystyrene) is clamped in position above the mould.

4. The heater is then turned on and the plastic slowly becomes soft and pliable as it heats up. The plastic can be seen to 'warp' and 'distort' as the surface expands.

5. After a few minutes the plastic is ready for ‘forming’ as it becomes very flexible.

6. The heater is turned off and the mould is moved upwards by lifting the lever until it locks in position.

7. The 'vacuum' is turned on and this pumps out all the air beneath the plastic sheet. Atmospheric pressure above the plastic sheet pushes it down on the mould. At this stage the shape of the mould can be clearly seen through the plastic sheet. When the plastic has cooled sufficiently the vacuum pump is switched off.

8. The plastic sheet is removed from the vacuum former. The sheet has the shape of the former pressed into its surface.


9. The excess plastic is trimmed so that only the plastic bowl remains - the completed item. An enlarged view of the final dish is seen opposite.


I don't have enough technical knowledge to design or make one from scratch without an example to be inspired from, i googled "DIY Vacuum Forming Machine" and it was a great experience learning about the different types and methods to build your own machine.
I found a type of design called "Tower" so i hand-sketched a draft for the design

My Vacuum former's body materials will be Laser-cut plywood and steel rods, i'm going to use a pre-made heater.About the electronics & Programming part, i was thinking of embedding a temperature sensor and a buzzer to notify me when it's ready to use.
Version 2 will be mechanically automated which you shouldn't move the plastic up and down by yourself, a motor will do that instead.

what materials and components will be required?

For The Structure:
*Plywood.
*Stainless Steel Rods.
*Paper Clips.
*Screws.
*Epoxy Steel.
*Heat Gun.
For The Electronics:
*Nickel-Chromnium Wire.
*Thermocouple.
*Thermocouple-to-digital converter module.
*Relay Board.
*Piezo Buzzer.
*Attiny44.
*LEDS.
1-Hand Sketching for the machine.

One the the most importatnt things i would say if someone asked about what have i learnt from Fab Academy is i was dummy at Sketching/Designing because i was always not capable of turning the ideas in mind to the sketches on paper or software.

2-Measurements & 2D Drawing - 3D Modeling for the project.

For the measurements task i had to do some research and measurements as below:
Single Hole Diameter 3mm
Distance Between Holes 25mm
Vacuum Nozzle 335mm
Screw's Head 5mm
Stainless Steel Rods' Diameter 8mm


For the 2D Drawing Task i started with breaking down the design in some cubical shapes to make it easier.


For the media holder it was a must to 3D design and print a hollow cylinder/tube which has 3 holes (1 for the rods, and the others for 3mm screws to be fixed to one layer of the media holder, to make the sliding on the rods easier

But unfortuantely i faced a problem that one of the cooling fans of the 3D Printer has been broken and the output was very bad quality-parts, so i had the idea of using Laser Cutter to make something alike.


3-Buying the components and materials (Tungsten Wire, Electronics,etc...).

In Egypt, online stores is not the best way to get your things, you could easily access local stores and have a shopping.
I had a shopping day to buy the bill of materials i mentioned in the last assignment and could'nt find it in Fab Lab Egyp't inventory.

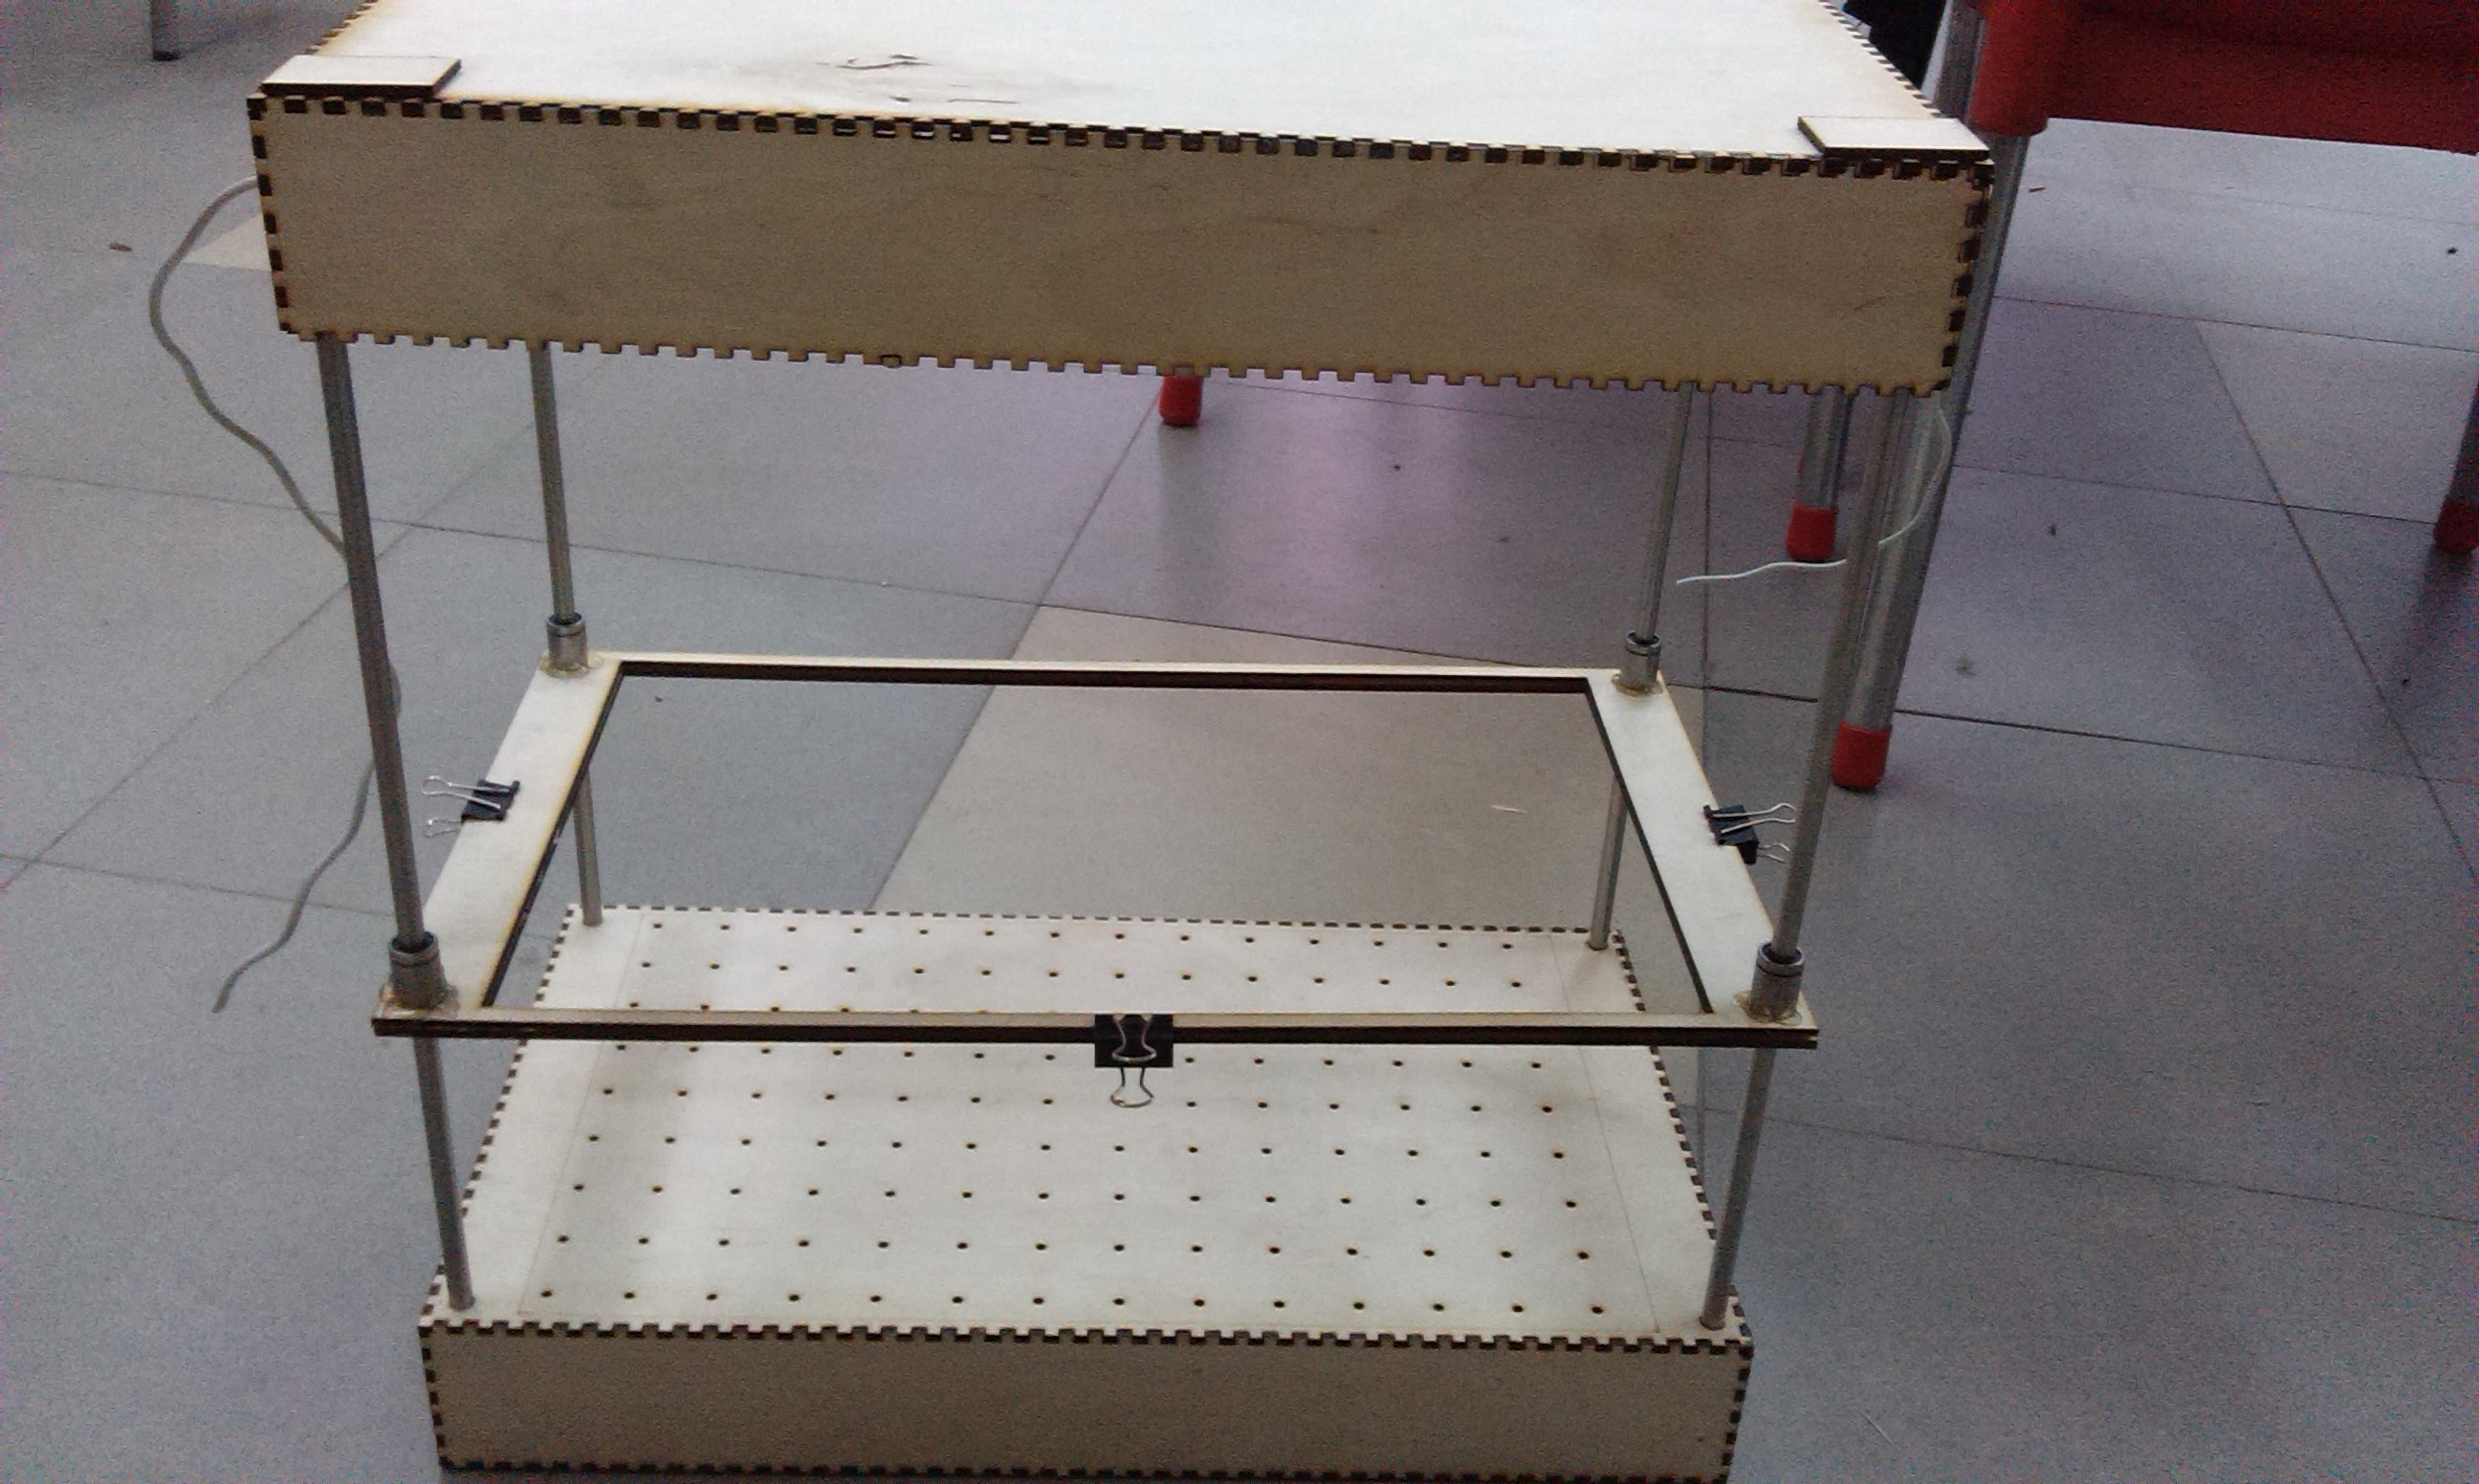
4-Laser Cutting the wooden structure, cutting the stainless steel rods to the proper lenght and grinding them.

I bought 3 meters of Stainless Steel Rods so i had to cut them, then grind them to make them proper to use.
I started to laser-cut the Top, Base and the media holder.

5-Assemble Those Parts to know if they fit.

The Structure parts were perfectly fit to each other but the rods seem to be not straight as required so it was difficult to slide the media holder top and down on the rods.
The best solution was to use a linear bearing and designed this 3D Printed part fix the bearing into it then fix the part itself in the media holder using 3mm screws.

but the printer still not working, so i used a heat gun to fix it to proof the concept for now, and it worked!

I added the heater (3 Nickel-Chromnium Wires) to the top part connecting them with cables in series. (Note: I've found up that connecting the Nickel wires themselves is better).

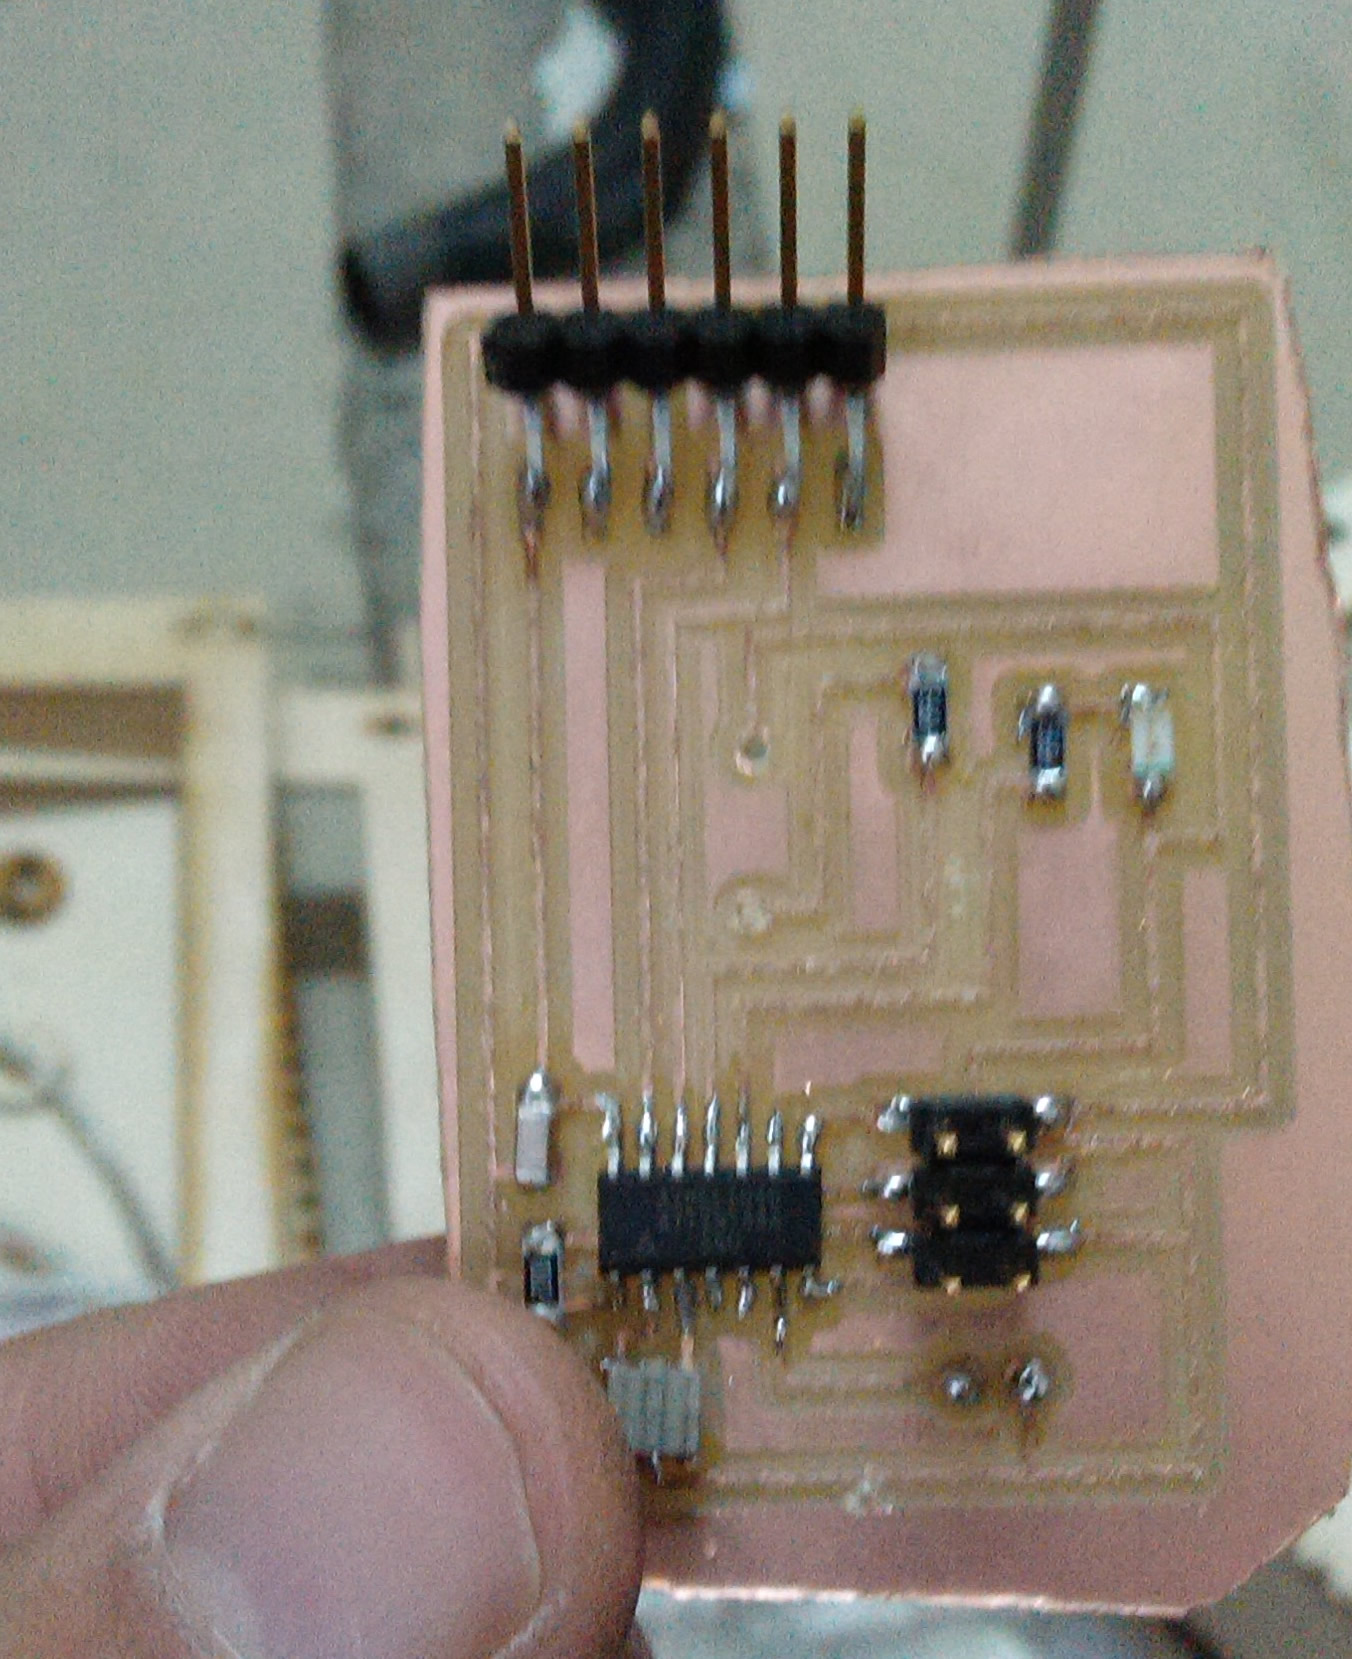
5- Electonics Design & Production


5-Programming.
I'm using MAX6675 as "to-digital-converter module", i download the library but there were 2 bugs, you need to open "libraries/MAX6675/" then open the 2 files: "MAX6675.cpp" and "MAX6675.h" and change "WProgram.h" to "Arduino.h", you also need to chane every "SCK" to another word let's say for example "Clock and change it in your code as well. but unfortuanely the library is not designed for attiny44 so when i embed the SoftwareSerial library, there's an error comes out but i didn't manage to fix it at first, then i wrote the full code to make my make my machines works well as a prototype.
Firstly i needed to calibrate my thermo-couple to know at what level temperature will be suitable to stop the heater using the relay board to do the forming process "You will find the full code below".

as a final step i assebmled all parts to make it full-prototype for a vacuum forming machine.
DOWNLOAD FILES